

This project started out a little like this. "Mom, the stools in our kitchen hurt my butt, I really don't like them. I wish we still had our old ones." In my most sympathetic tone..."that's too bad, I like how these look in our kitchen. I like those rush seats!"
Well, once one kid lodged a complaint, it wasn't long before the others chimed in and soon they were snagging pillows from the couch and sitting on them. At that point, I waved the white flag and told them we'd make a stool cushion for each of them so I thought I'd write a tutorial alongside me doing the project because these are so simple and fast.

I've had lots of pillows over the years and for some reason, it's the one thing I can't seem to throw away. I always tell myself I'm
I started out by finding some home dec weight fabric that I had on hand and then cut away the prior cover on my pillows that were stained and dated colors that used to be in my house. I selected home dec since the kids were going to be sitting on them but you can use anything you like. My prior pillow had the trim sewn straight into the seam of my pillowform cover so I ended up just cutting that all off too. I was left with just the filling but it was still somewhat shaped, we can work with that! If that's what you run into, don't throw it away, you're good. My piece is 16" square so if yours is bigger, just adjust your fabric cuts accordingly.

Again, my pillow inserts are 16" square so I cut my piece at 16" then I turned it and cut it again while on the fold so it was 20" across or 40" across when unfolded. **I like my pillows to be nice and taut when stuffed so I cut them at 16" for that initial cut. If that makes you nervous, cut it at 16 1/2". You will sew with a 1/4" seam allowance and will be fine getting it to fit in.

Along the short side, fold your raw edge 2 times and press down so that you are left with no raw edge. Stitch this edge down and repeat on the other short side.

Now lay your big rectangle piece print side facing up and fold your short sides in so that the width is 16" which is what my pillow form is. Your pieces will overlap several inches for your opening.
This is what you want because when the pillow is stuffed it will pull apart at that open seam and with the overlap you will not see your pillow insert or stuffing. Pin on both sides along the open edges.
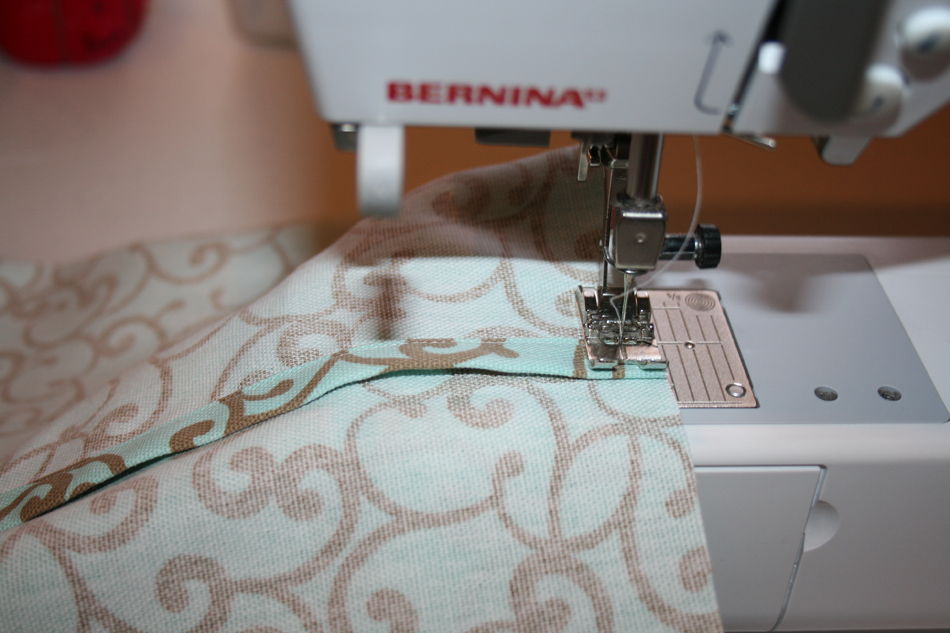
Stitch down each side using a 1/4" seam allowance.

Turn your piece right side out, pushing out all the corners and give it a nice iron.

Stuff in your insert or fiberfill stuffing, whatever you are using.

Ta-Da! You are done and that literally took me about 10 minutes...15 because I stopped and took a few pictures along the way. My kids are happy, no more groans when they eat breakfast in the morning. Can you tell I made these weeks apart? One still poofy because it was just completed, one has been flattened from being sat on! Am I loving these here on my kitchen stools? Well, this is one of those design compromises I made with the kids. After all, it's their home too!
Such an easy project for even a novice sewer or something to try with your child who might want to make one for their room. Such a fast way to change the look in your home. If zippers scare you, then ease into pillows and try these. Easy to make and I made 2 pillow covers for less than $10.


3 comments:
Debbie, love the cushions! Thanks for this tutorial. The stools are great...where can I find those! I have been looking to replace my bar stools for awhile and these would be perfect!
Stools are from Ballard Designs!
Thank you Debbie!
Post a Comment